Beautiful Info About How To Build Art Crates

How To Make A Shipping Crate For Saatchiart - Youtube

How To Build A Shipping Crate For Art - By Cedar Lee | Crates, Rustic Wood Box
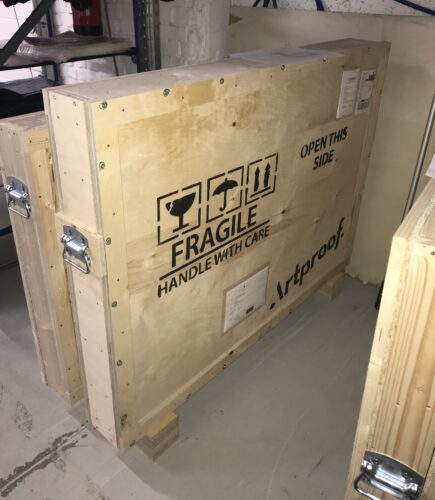
Artproof | Packaging
How To Build A Shipping Crate For Art - By Cedar Lee

How To Build An Art Shipping Crate | Fine Shippers
You only need to cut a sizeable height that keeps your accents together without downplaying their aesthetic purpose.
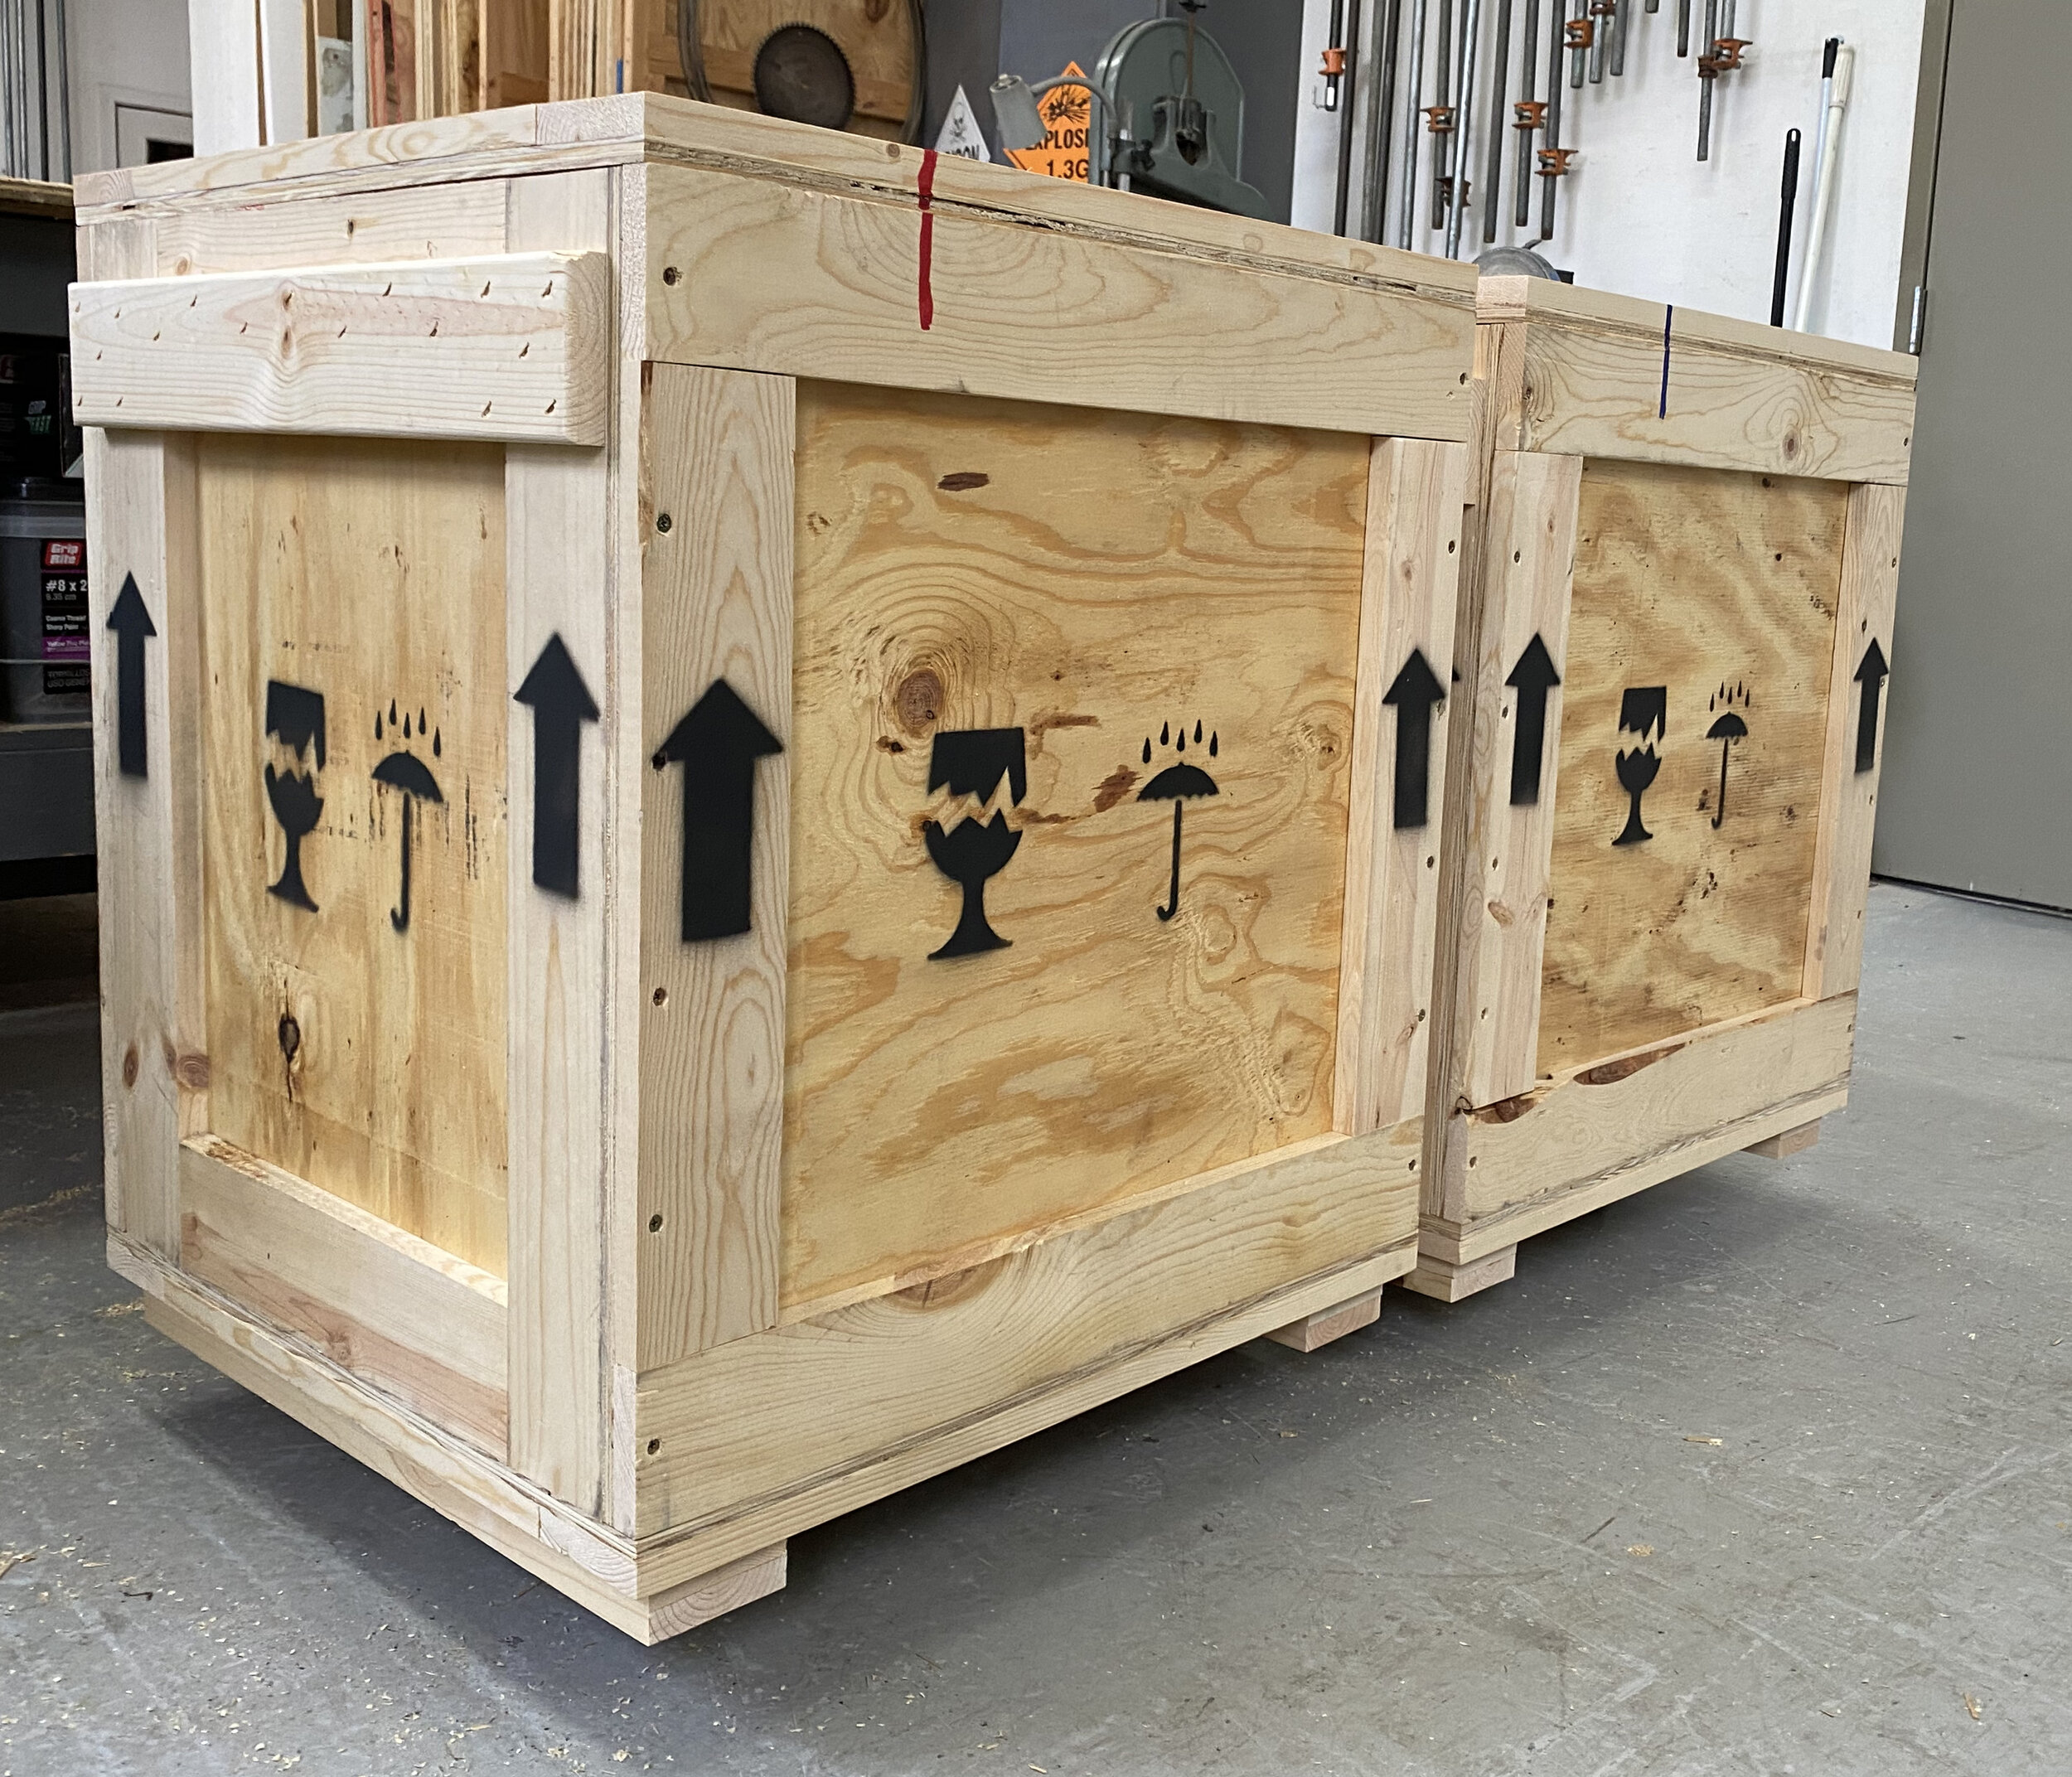
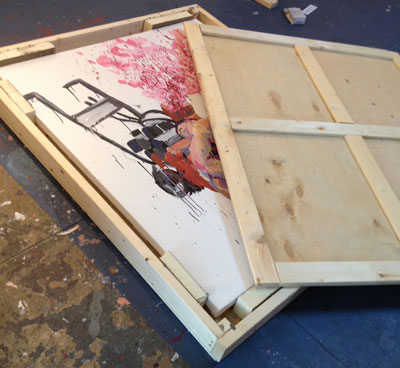
How to build art crates. By now, the base is complete, the artwork is wrapped and positioned inside the crate, and the lid is ready to be screwed onto the base. Wait for the paint to dry. Make sure your screws are.
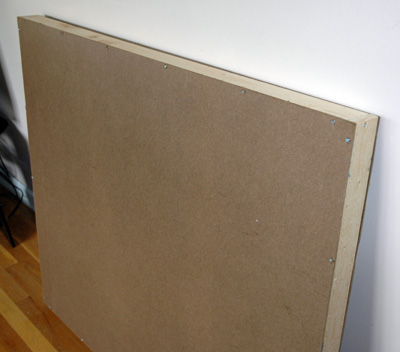
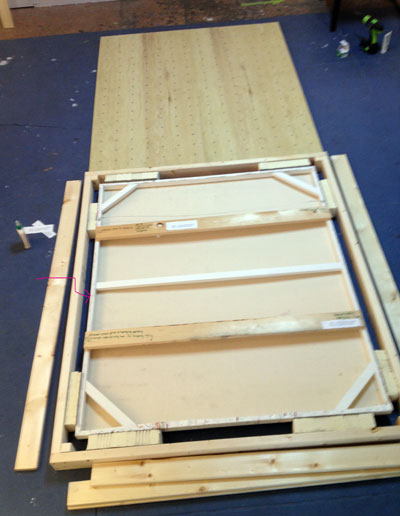
Measure you length, width and depth, making sure to always measure the longest possible distance of these dimensions. You can do both sides of the crate at this time. Glue the back of the crate as it will not be removed.
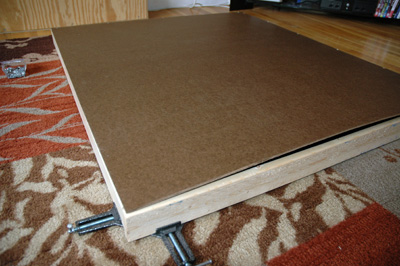
Wood glue was applied to the middle board then the sheets of plywood were screwed on top. Then flip the paper over and use a ruler and pencil to create grid lines across the back of the paper. All three pieces were then screwed together.
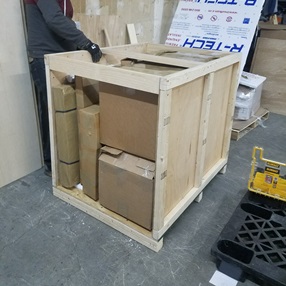
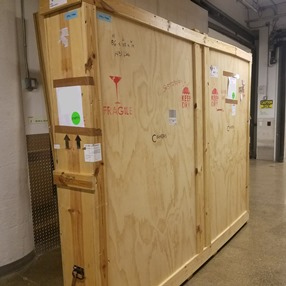
Craters & freighters is a trusted resource for the safe handling, packaging, and transporting of fine art, antiques, and heirlooms. Accuracy is key to making a nice custom crate here. How to build a shipping crate for art:
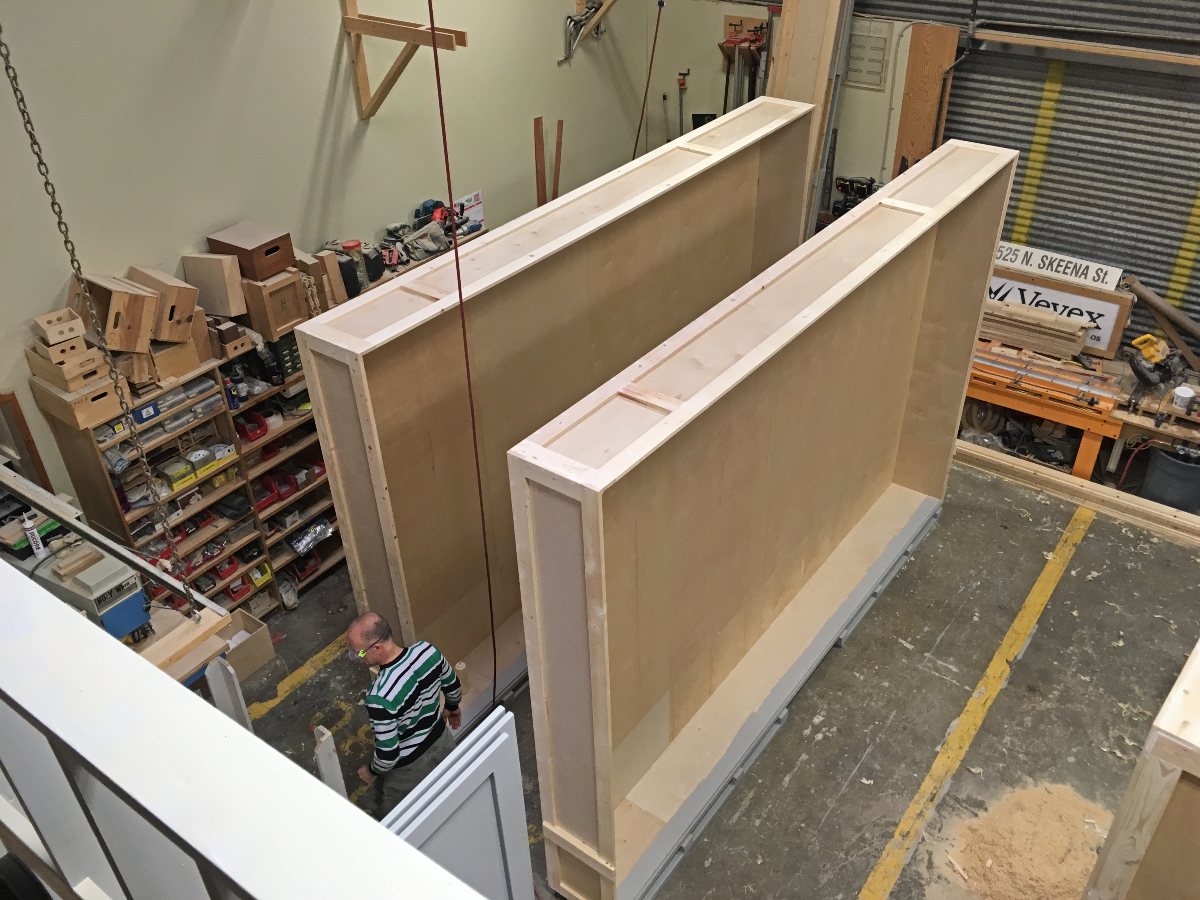
Carefully lay the lid on top of the base. How to build a wooden shipping crate to ship large scale artwork. If you want to know how to build a shipping crate for art, you need to avoid the following cheap mistakes that can cost you dearly.
In an older video, tanner has explained how to safely pack your artwork in a crate for shipping. You can do this with squares. I did some research online and found a plethora of videos but.
Up to 10% cash back after paying way too much to build a crate to ship my fine art i decided to do it myself at 1/6 the cost.
How To Build A Shipping Crate For Art - By Cedar Lee

How To Build A Shipping Crate For Furniture Projects - Youtube

How To Build A Shipping Crate For Art - By Cedar Lee

Need To Ship Something Safely? How Build A Custom Crate...for Less Than $100. : 7 Steps (with Pictures) - Instructables
Packaging And Shipping Art - The Of Brandy Saturley
Shipping Luxury Art: The Process Of Building A Custom Crate
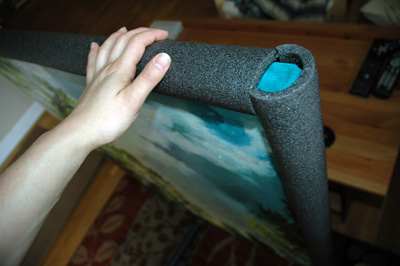
Expertly-make-crate-your-painting-heres-how
How To Crate Artwork? | Fine Art Shippers
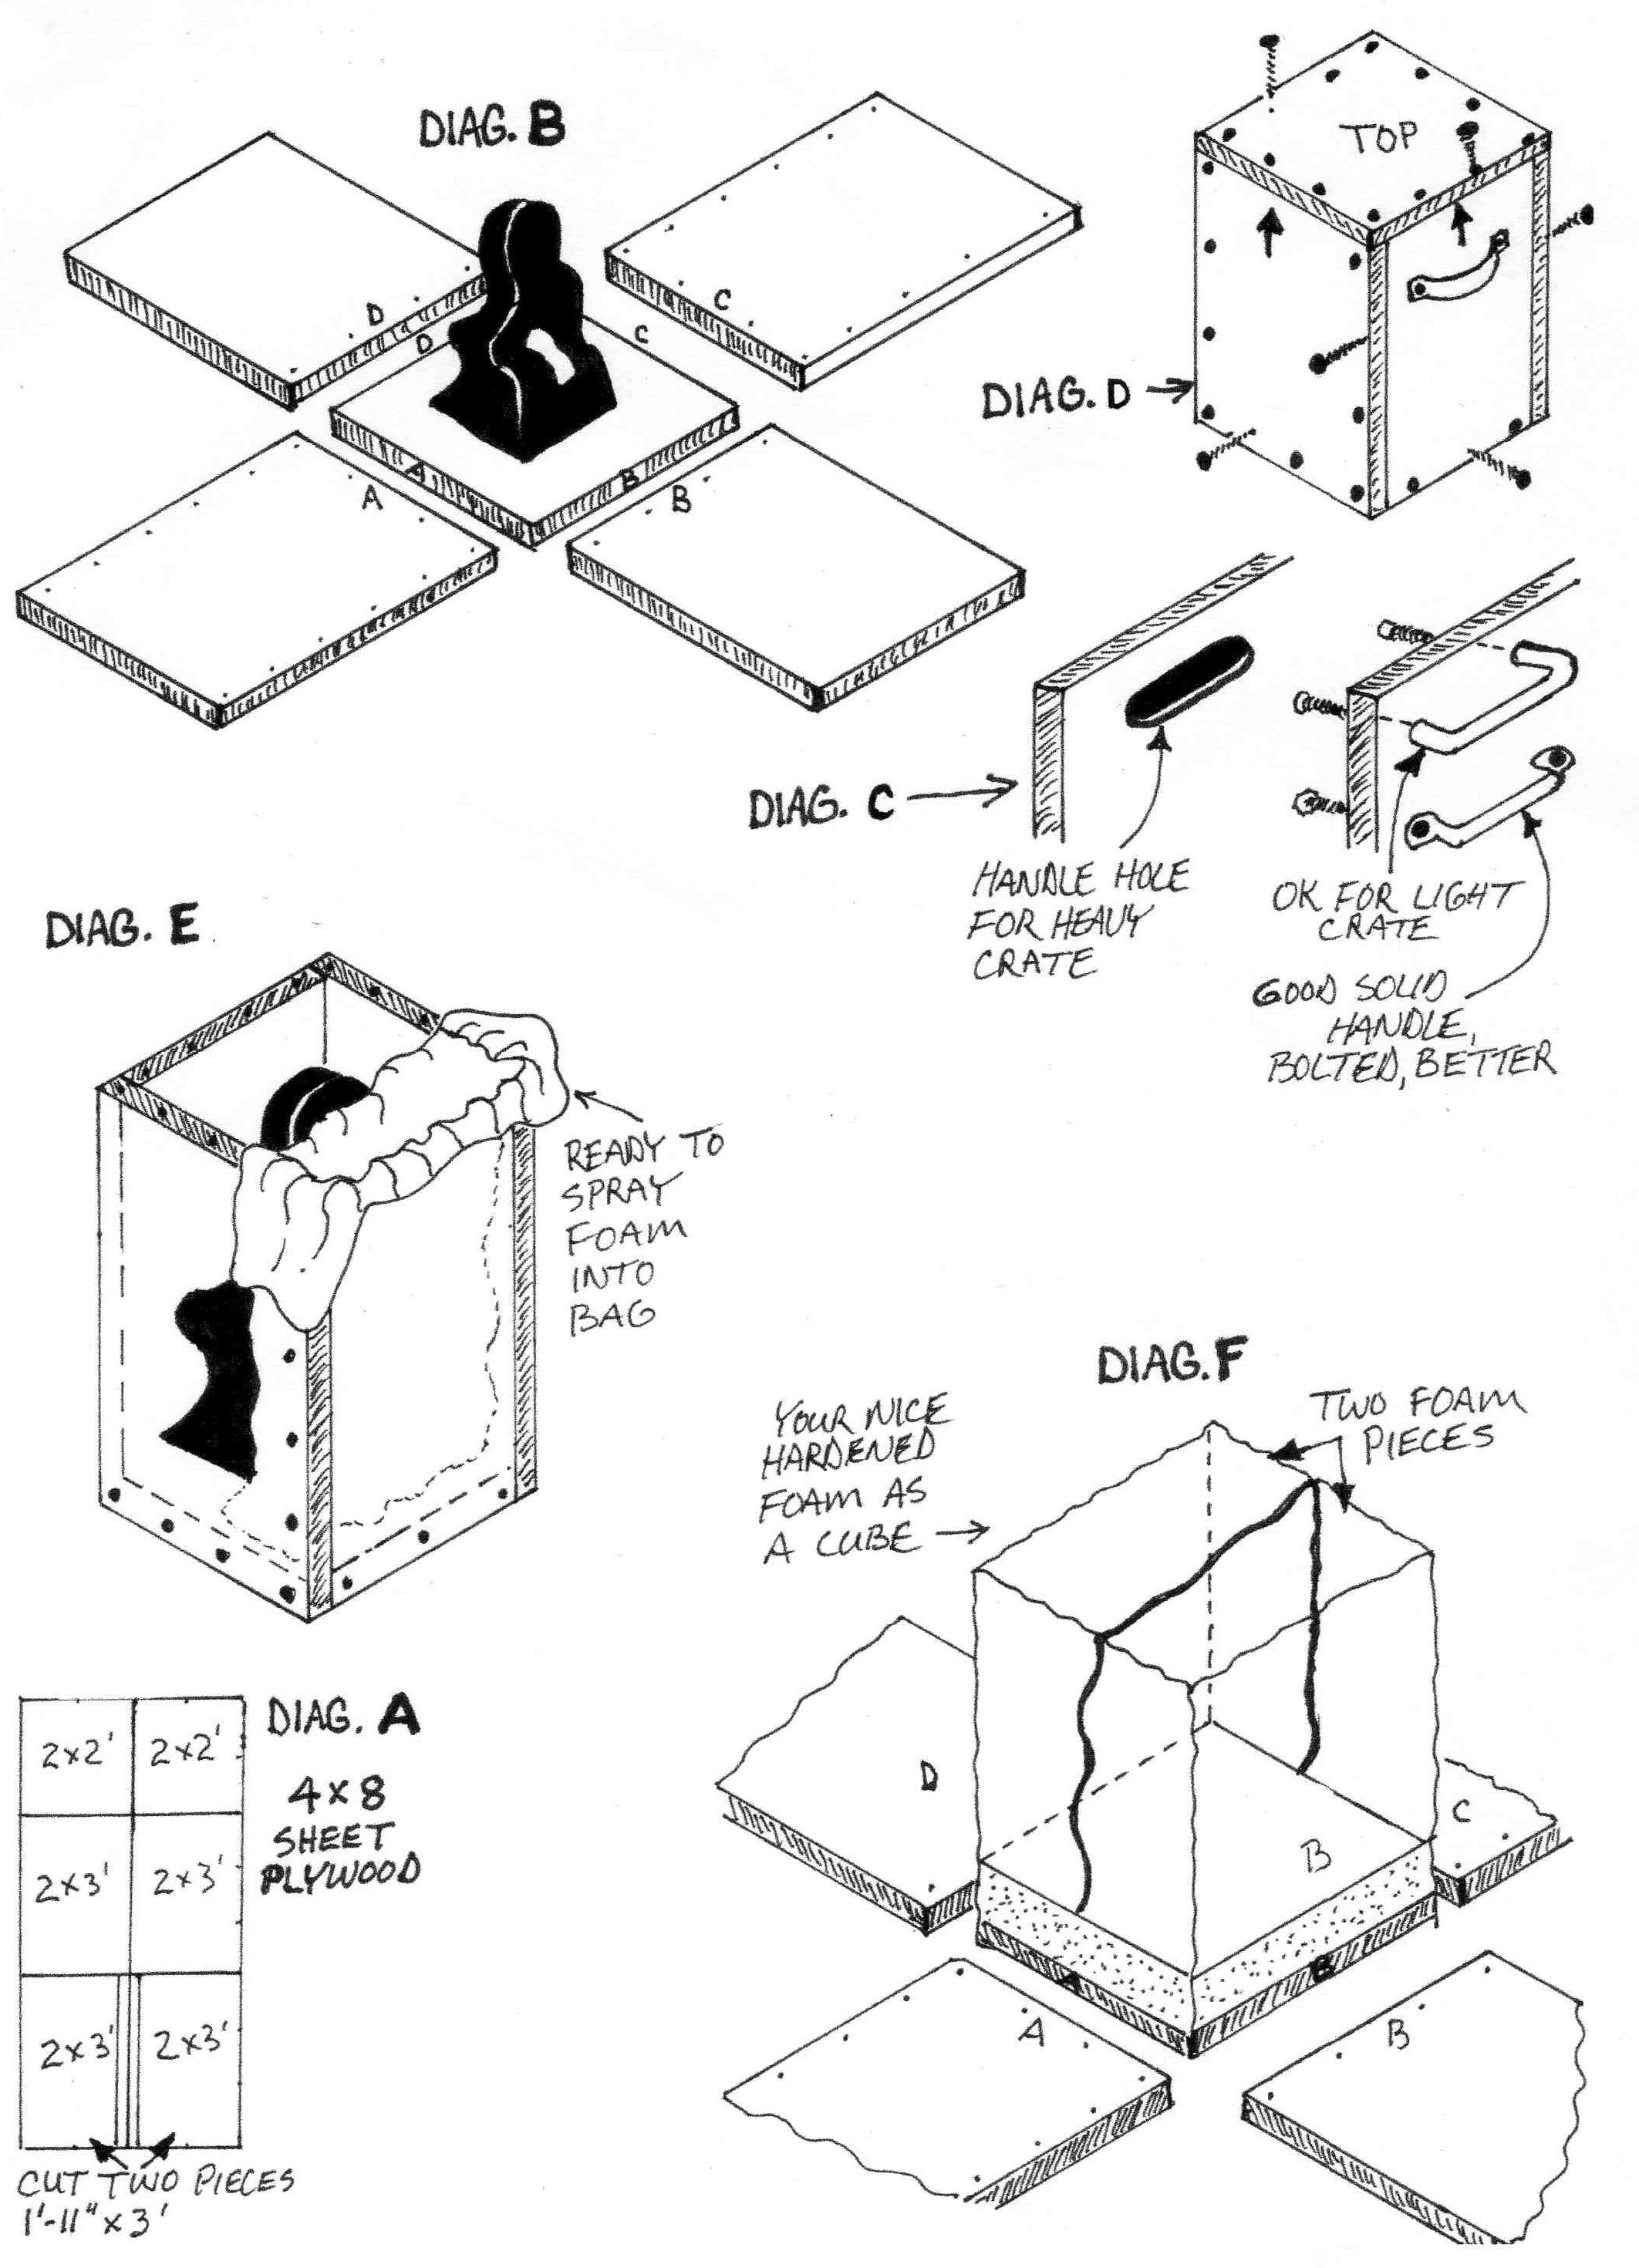
Building A Sculpture Shipping Crate Sept/oct 2007
Expertly-make-crate-your-painting-heres-how


Expertly-make-crate-your-painting-heres-how
